A Step-by-Step Guide to Home Brewing Kombucha
For those new to this fizzy drink, kombucha is a lightly fermented tea rich with gut-friendly probiotics, active enzymes, amino acids and polyphenols. It’s naturally carbonated, making it a fabulous healthy alternative to sugary processed sodas. For the curious home-brewer, it’s an easy process with endless possibilities to alchemize your favorite flavors.
Kombucha starts out as a sugary tea, which is then fermented for 2-3 weeks using a live culture known in the ‘buch world as a SCOBY (Symbiotic Culture of Bacteria and Yeast). The kombucha gets its unique flavor and probiotic power because the SCOBY actually ‘eats’ the sugar and components of the tea leaving nutritious kombucha to enjoy. In the home ‘buch brewing culture, you can ask a friend for a piece of their SCOBY to get started, or grow your own with a starter kit. Here’s what else you’ll need . . .
SUPPLIES
2 gallon glass jar
clean tea towel & rubber band
pitcher
funnel
glass bottles/jars with lids
INGREDIENTS
2 gallons distilled water
2 cups organic cane sugar
20 tea bags (black, green, yerba mate or a mix)
1 SCOBY (mother culture)
Place the sugar and tea bags in the clean glass jar. Boil the water and fill your jar halfway. Allow to steep for 10-15 minutes until a dark brew is made. Remove tea bags using a clean wooden spoon and fill the jar with cool water until 90% full. When the tea has cooled enough to room temperature, add in your SCOBY. Avoid placing the live culture in hot liquid as this will kill the beneficial working bacteria. Cover top with a clean tea towel and secure with a rubber band. Label the date on the jar, and store in a warm, dry place out of direct sunlight and away from other fermenting products. Ferment for 14 days, checking to make sure mold does not occur on the top of the culture. If you find mold, throw the batch out and begin again. After two weeks, taste the kombucha. It should be tart and zingy, not overly sweet or sour. If the brew seems too thick and sweet, continue to ferment for another 3-5 days to allow more time for the culture to consume the sugar.
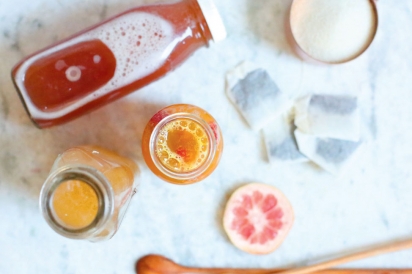
When ready, remove the SCOBY from the jar with clean hands and place in a bowl with enough kombucha poured over top to cover the culture. This will be your starter for the next batch! Pour the remaining jar of kombucha into a pitcher. Then, using funnels if needed, divide kombucha into individual glass bottles or jars and seal with airtight lids. At this point, you can add a variety of fruit, herbs and spices to each bottle to flavor in the second fermentation stage or you can bottle alone and flavor with fresh juice after the second ferment is complete. Once you decide on your flavoring route, place these bottles back in a warm dry spot and allow to ferment with the lids on for 2-3 days. This will carbonate the kombucha giving it that lovely effervescent quality. To stop this process, transfer the jars to the fridge and keep cold until ready to drink.
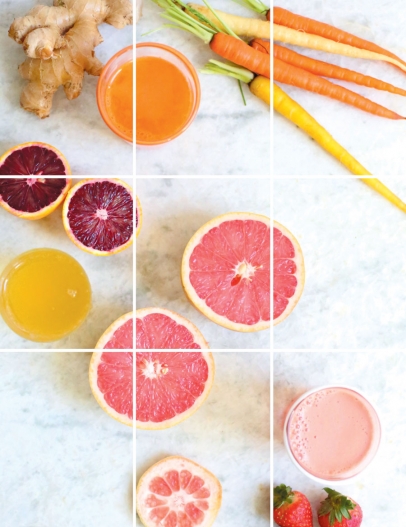
ALCHEMIZE
Three varieties of my favorite springtime kombucha recipes using both methods of flavoring. Try your hand at second ferment flavoring or fresh juice flavoring!